Taber Industries offers a variety of instruments that meet numerous internationally recognized test methods. Taber Industries offers four instruments that can be used to evaluate physical damage to material surfaces not classified as ordinary wear – Taber Shear / Scratch Tester; Taber Multi-Finger Scratch / Mar Tester; Taber Linear Abraser; and Taber Reciprocating Abraser. To learn more about any of our products, visit www.TaberIndustries.com.
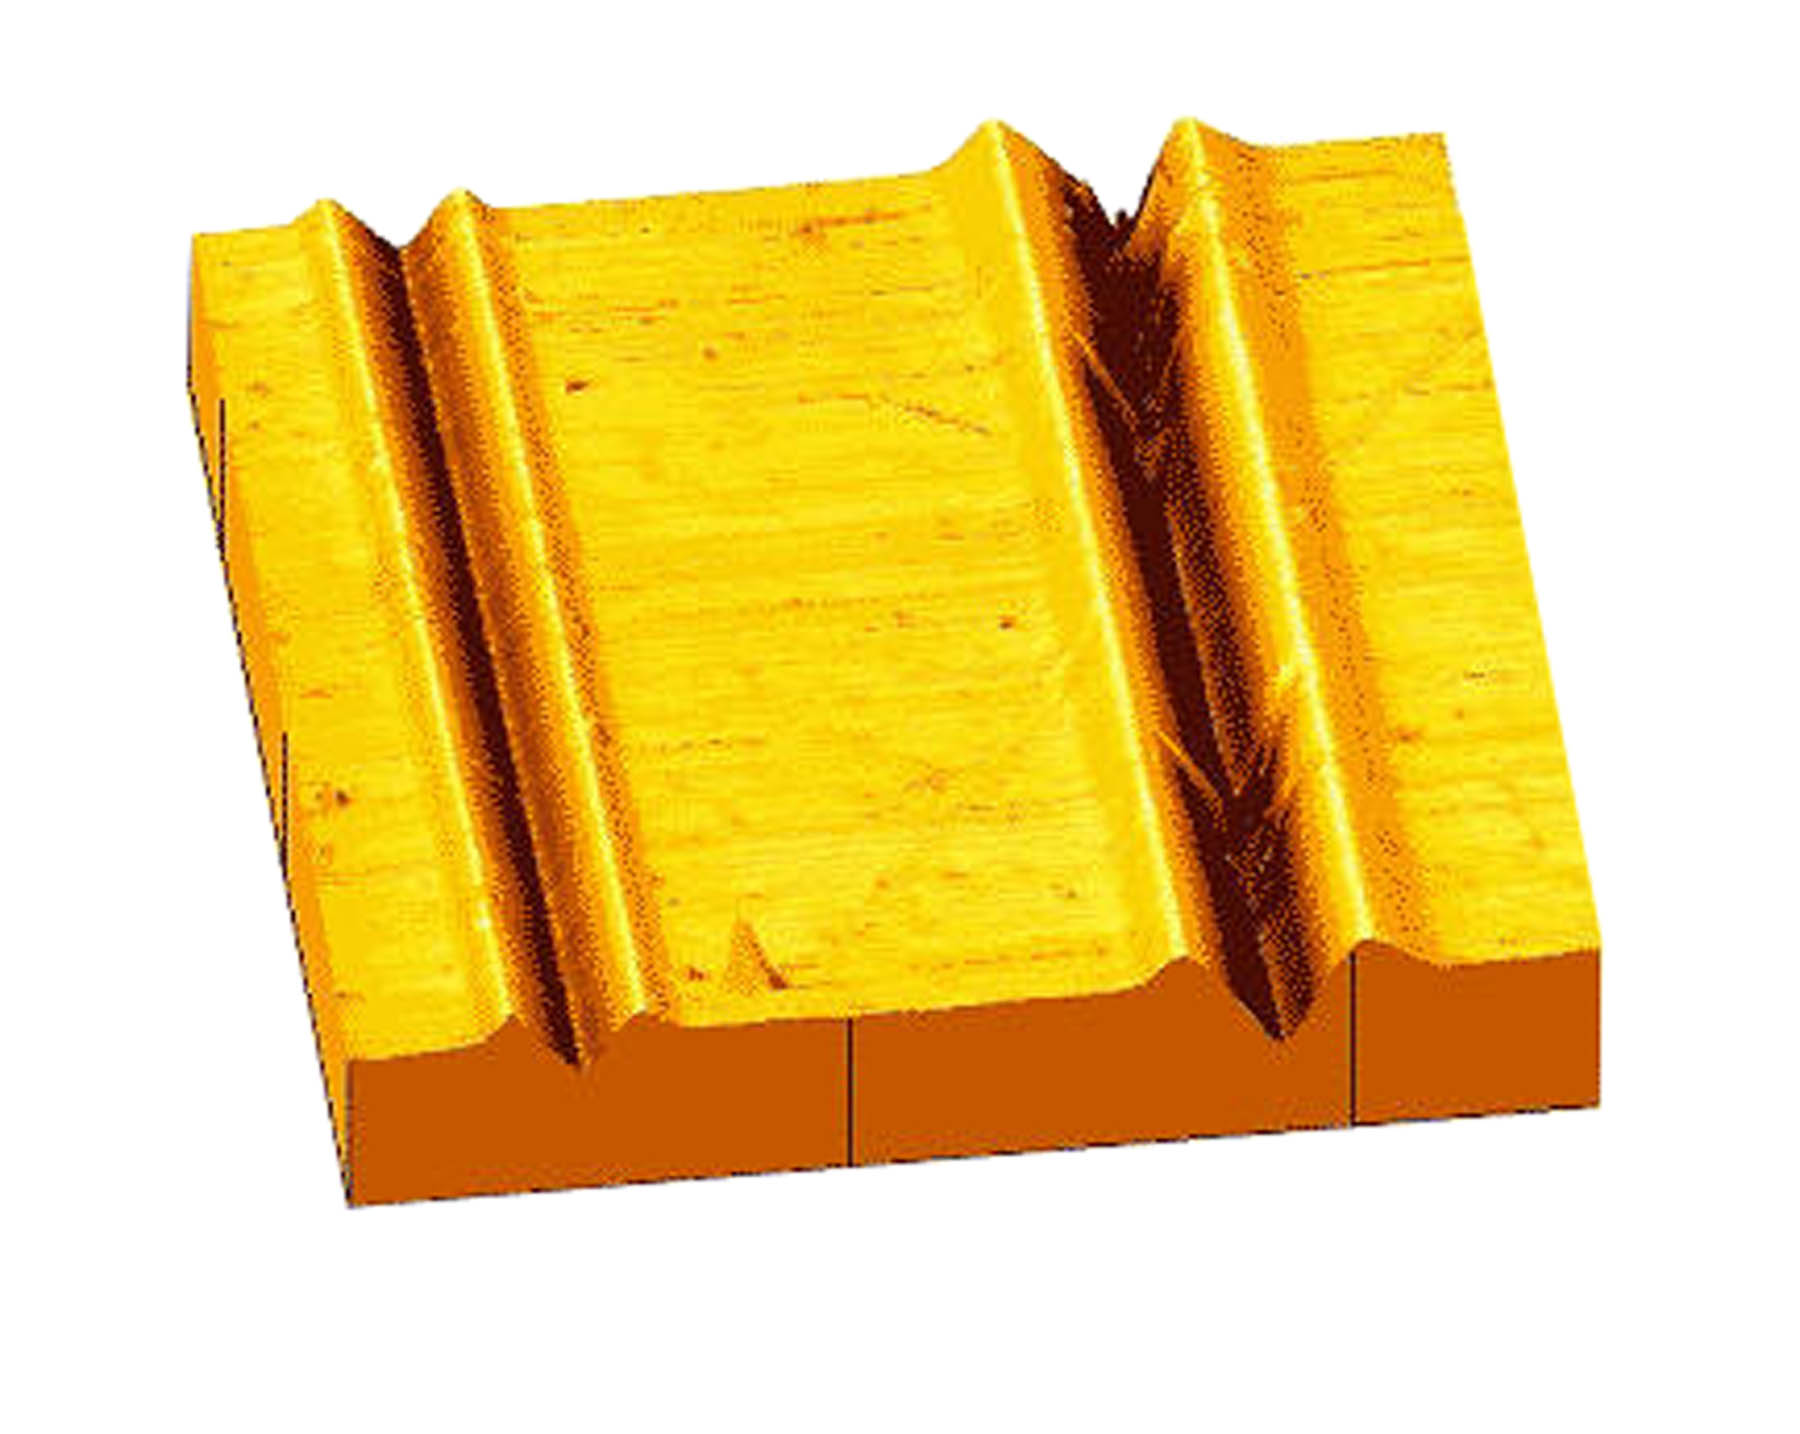
Scratch and mar are types of mechanical surface damage that can occur during normal usage and handling, shipping or assembly procedures. Defined as "the resistance of a solid body to penetration by an edge or protuberance on a second body that is moving along its surface"[1], scratches are usually associated with a single occurrence in the specimen surface. Normal scratching includes deformation such as plowing, but might also involve material cracking, peeling and removal. In comparison, marring is the term used to describe relatively fine surface scratches generally characterized by shallow damage, distributed over a relatively large area that typically spoils the appearance of a surface coating. It may be convenient to consider mar resistance as a surface property, whereas scratch or abrasion resistance involves the body of the material as well.
 For laboratory scratch and mar tests, a stylus with a defined geometry is drawn across a specimen surface at a known speed and with a known force. The objective of most scratch or mar resistance studies is to determine the behavior of the material under specific test conditions, establish a relative ranking of similar materials, or to determine the failure limit of a surface coating. This information can then be used to better understand material surface properties and performance characteristics.
Similar to wear tests, the amount of scratch damage on a material surface can be influenced by test parameters (e.g. stylus composition and geometry, loading, and scratch velocity) and requires an appropriate procedure to minimize these influences. Inappropriate choice of tip geometry and loading conditions often produces damage that is more severe than in-service damage, resulting in misleading results.
As an example, different mechanical deformations may be generated using different scratch indenter geometries: 1mm spherical ball (hardened stainless or tungsten steel); conical diamond; cube corner; pyramidal; cylinder sectioned at 45° to the axis; 0.8mm diameter helix and the radius edge of a paperclip. Variation can also be introduced by the speed the stylus is drawn across the specimen surface. For scratch testers that provide an adjustable speed, care must be taken to ensure the rate of speed is the same for each test. Another consideration is the length of time a stylus sits on a specimen surface before the test commences, and how deep the stylus "sinks" in. Material properties such as surface roughness, hardness, modulus of elasticity, texture, grain, gloss level, and coating thickness will also influence the severity of scratch damage.
Although scratching appears to be a relatively simple concept, trying to evaluate and describe the results on a polymeric material is not always easy. Many plastics have visco-elastic properties and the stresses in the plastic may relax during loading. Plus, plastics demonstrate an elastic recovery after applied stresses are removed. For example, parameters such as scratch width, groove depth, displaced material and severity of the damage may change over time. Other issues that may affect the visual perception of scratches include the color of the sample, amount of strain whitening, scratch direction, lighting and viewing conditions, and the amount of time an observer is allowed to view the sample.
[1] Peter J. Blau, The Lab Handbook of Scratch Testing (Oak Ridge: Blue Rock Technical Publications, 2002) p. 1.2
